Applying a Course Template
Applying a Course Template

The instructions below guide you through the process of applying a course template to a student or group class. The only difference in the process is whether you click on a student's calendar or a classes calendar to begin. Below, we show the process for a class.
1. Log into your instructor account and click
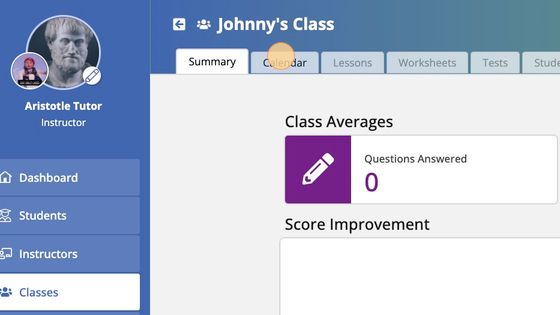
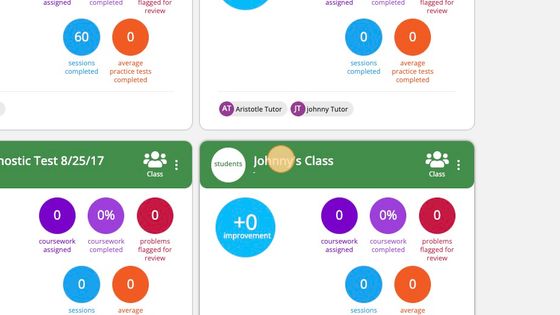
2. Click on the name of the class you want to apply the template.
3. Once you've selected the class, click on the tab marked "Calendar."
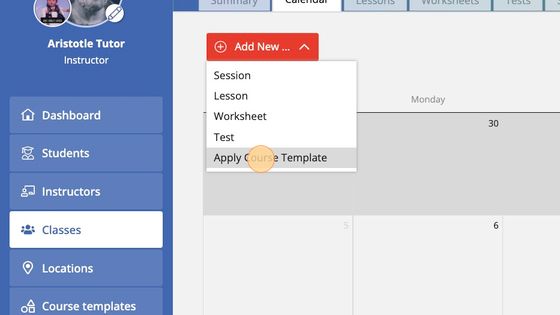
4. Then click "Add New" and select "Apply Course Template" from the dropdown menu.
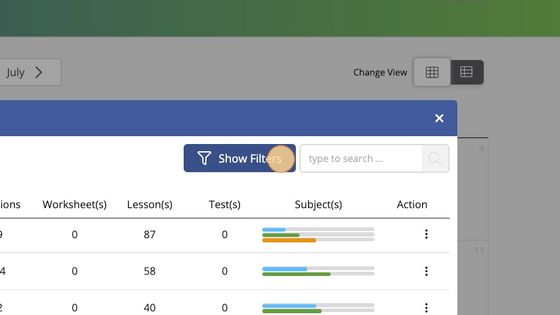
5. Filter the templates to find the one you're looking for.
By default, this screen shows not only the templates created by your organization but also a bunch of "built-in" templates that you can use. Click "Show Filters" to filter out some of the results.
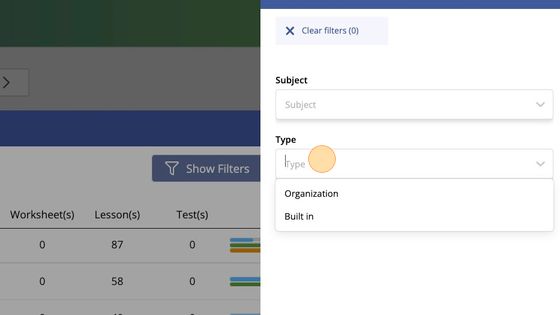
6. If you want to see only the templates created by your organization, then select "Organization" from the field marked "Type."
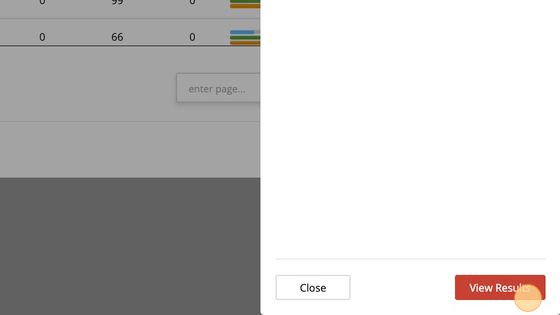
7. Click "View Results"
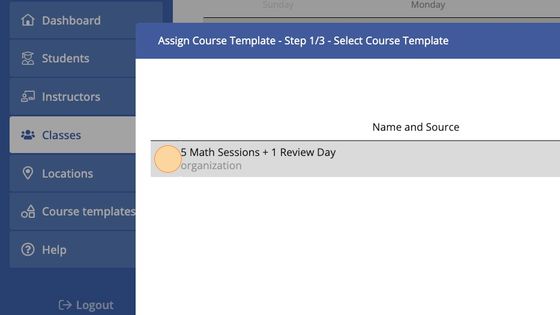
8. Click to select the course template you want to apply.
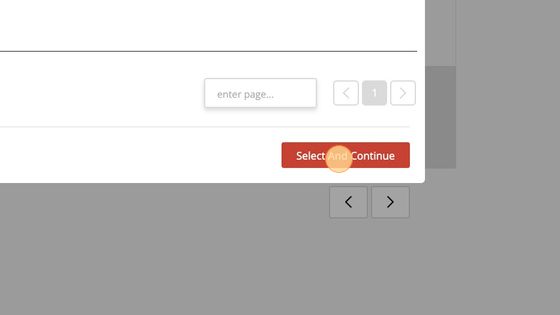
9. Click "Select And Continue"
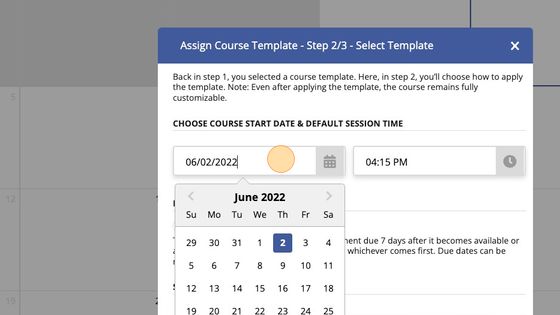
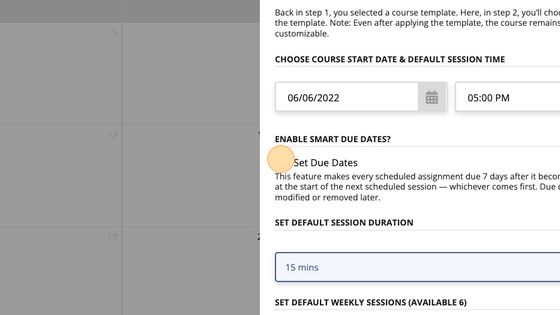
10. Click to select the start date and default session time.
11. Read the description to decide whether you want to assign "Smart Due Dates."
If you do, then click the check box marked Set Due Dates.
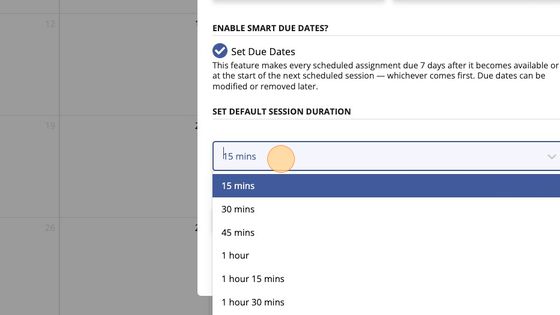
12. Choose a session duration.

Note: There is no requirement that the session duration you choose matches the session duration in the description of the course template. Choosing 15-minute sessions for a course template that's described as having 2-hour sessions won't squeeze lessons out of each session or add new sessions to the end to accommodate the overflow. This session has no bearing on how the work will be scheduled.
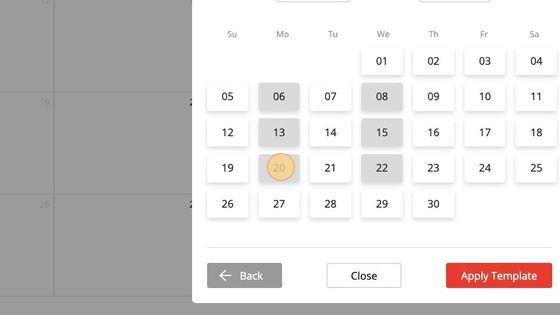
13. Choose the default weekly schedule.
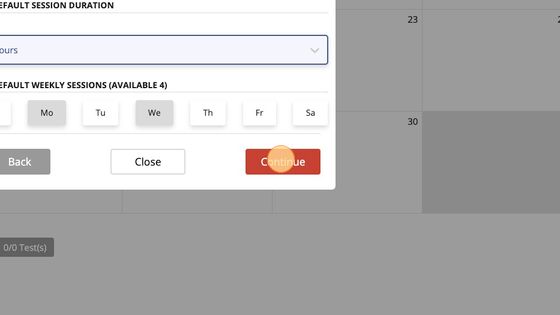

Note: If you remove the first session and then add a new session after the final session, for example, you will not have moved the work from the first session to the new session at the end of the course. Scheduling sessions is like arranging empty buckets at this stage. The work associated with each session won't be added to the "buckets" until you click "Apply Template." Thus, the course will always lay out in the same order, regardless of the scheduling changes you make at this stage.
14. Click to remove sessions you want to remove.
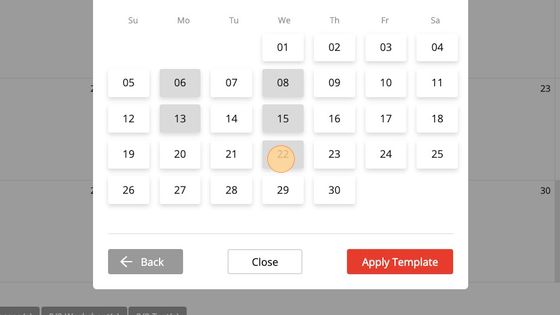
15. Click on a new day to add a new session.

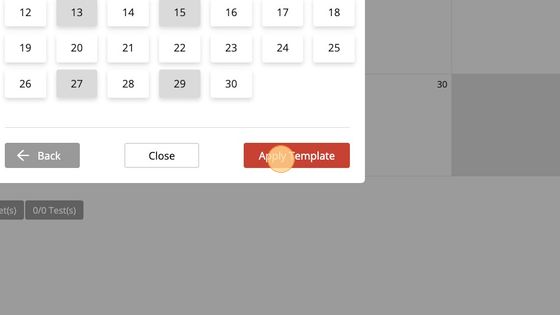
You won't be able to click the "Apply Template" until you have the correct number of sessions scheduled.
16. Once you've got the correct number of sessions (arranged however you want), click "Apply Template."
Deleting Assignments (After Applying a Template)
Applying a course template doesn't mean you can't add, remove, or reschedule workbook lessons, worksheets, and practice tests. In fact, it's a good idea to go through and "prune" each session of any work that you don't think will be a good use of the student's time.
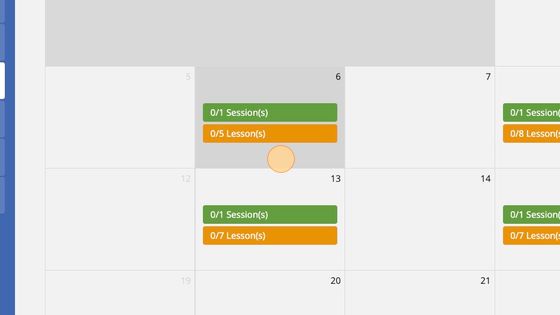
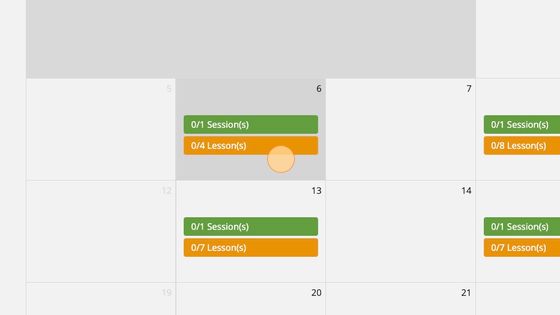
17. Once the template has been applied, you'll land on the calendar view for your student/class.
There, you can explore each session by clicking on it to view exactly what's been assigned.
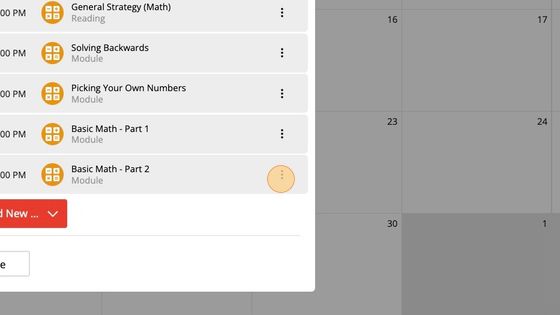
18. You can use the Action icon (3 vertical dots) on the right side to interact with individual items on the list.
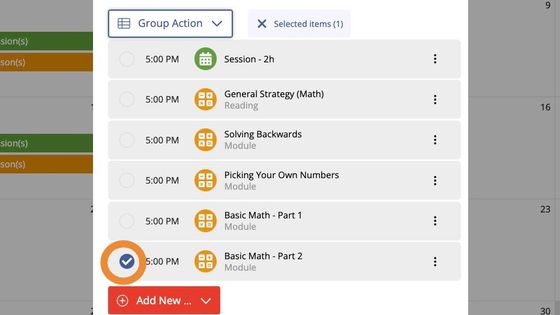
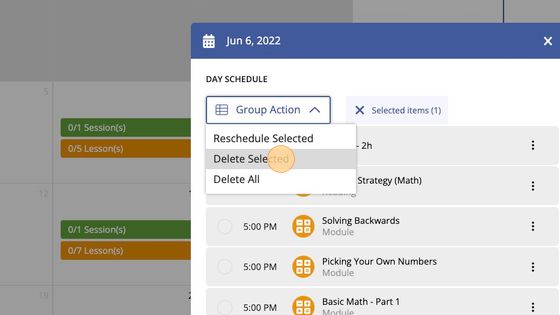
19. Or, you can click the circles on the left side of the list to select one or more items and then perform a "Group Action" on those items.
20. Choose the action you wish to perform on the group of items you selected.
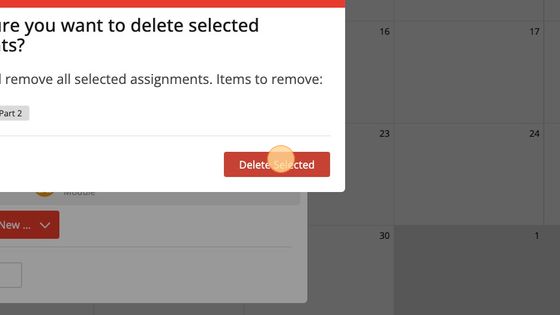
21. Read the instructions and click to confirm the action.
Adding Assignments (After Applying a Template)
22. Click a date on the calendar.

In this example, we're adding an assignment to a day that already has a scheduled session; however, you can add assignments to a day with or without a scheduled session.
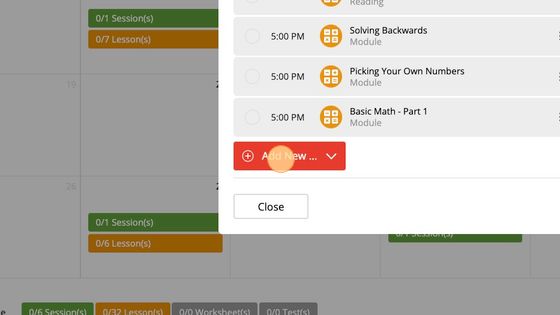
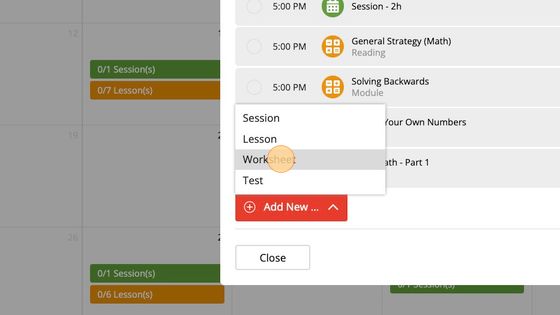
23. Click "Add New."
24. Select the assignment type you wish to assign. In this case, we're assigning a Worksheet.
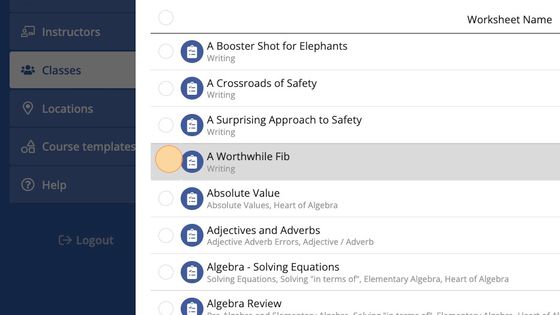
25. Use the filter, search, and sort tools to locate the worksheet(s), you want to assign.
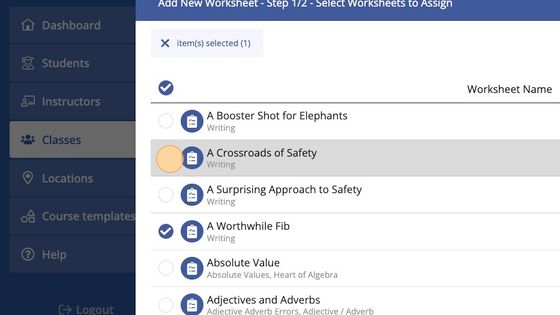
26. Click to the left of a worksheet's title to select that worksheet.
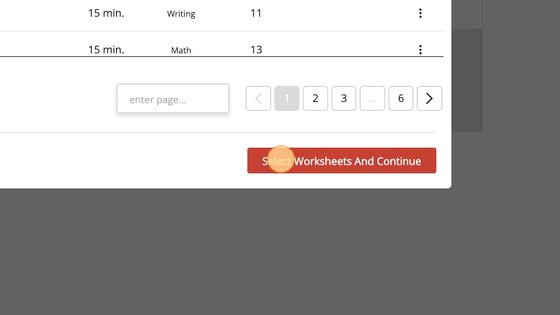
27. Once you've selected one or more worksheet to assign, click "Select Worksheets And Continue"
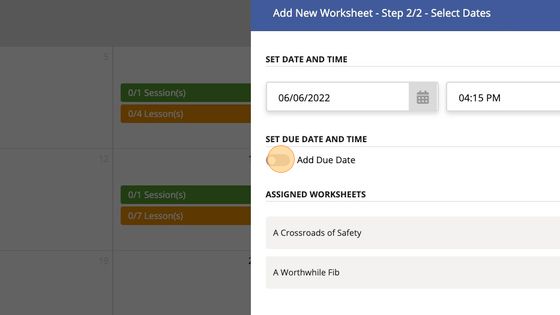
28. Follow the instructions to set the date the worksheet will become available and if/when it will be considered overdue (i.e., the due date).
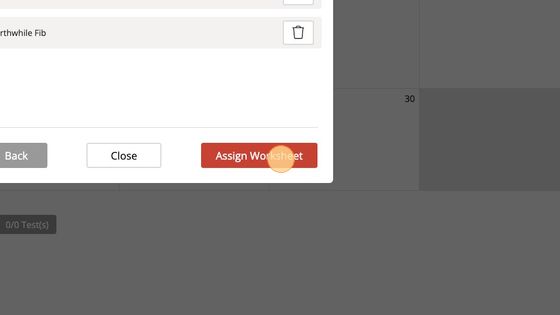
29. When you're done, click "Assign Worksheet"
Adding a Practice Test (After Applying a Template)
30. Click on the date that you want to assign the practice test.
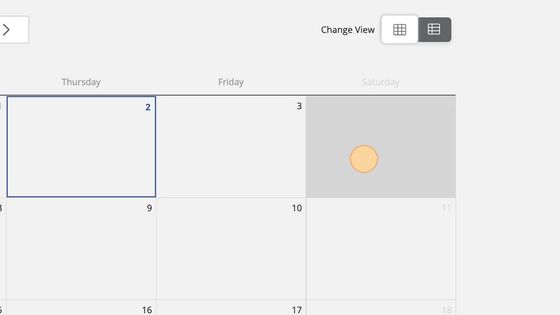
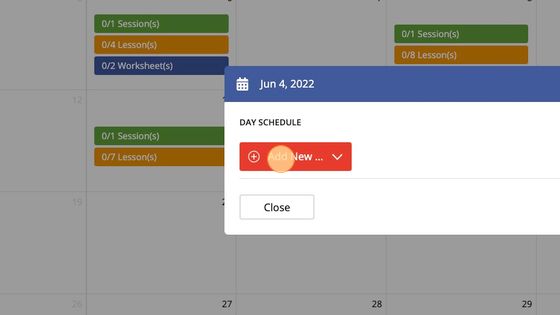
31. Click "Add New"
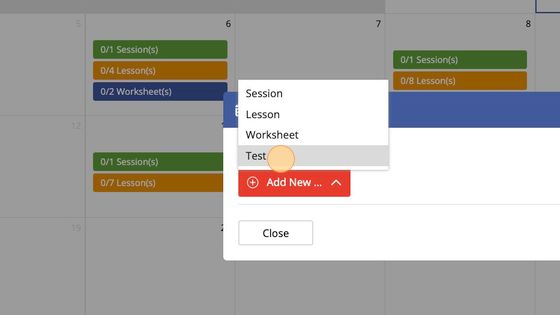
32. Select "Test" from the dropdown menu.
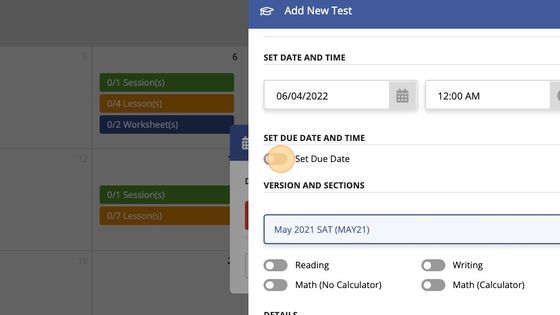
33. If you wish to add a due date, click the slider and choose a due date.
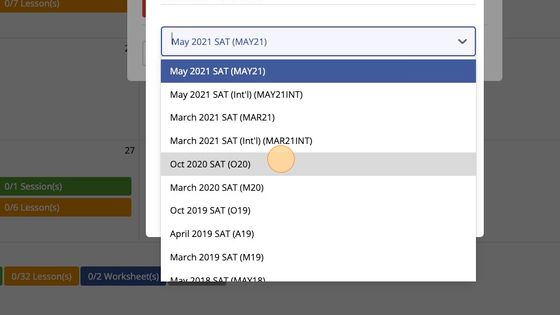
34. Click the dropdown menu to choose the test version you want to assign.
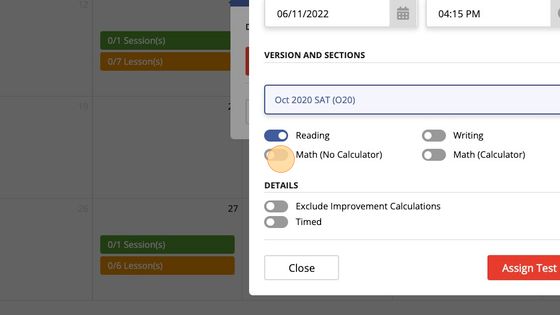
35. Position the sliders to the right to assign test sections.
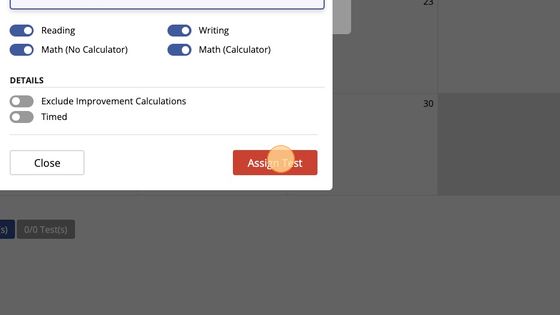
When a slider is positioned to the right and the slider turns blue, that section is set to be included in the test once you click "Assign Test."

Any section that you do not assign at this time may be added later. You can return to this interface by clicking on a test to see its details and then clicking "Edit Test Details."
36. Click "Assign Test" to complete the action.
Related Articles
Managing a Group Class
Managing Group Classes Creating a New Class 1. Log into your instructor account. 2. Select "Classes" from the menu on the left. 3. Click "New Classroom" When naming a class, use unique words that will help you quickly locate the class on a list. It ...Assigning Workbook Lessons, Worksheets, and Tests
Assigning Lessons, Worksheets, and Tests (w/ notes on how to create a single-subject course) OPTION 1: Apply a Course Template 1. Click on the student. 2. Click "Calendar" 3. Click "Add New" 4. Select "Apply Course Template" 5. Choose a Course ...Entering a Start/End Date for a Course
How to Enter a Start/End Date for a Course 1. Click on the Student's Account Tab and scroll down to the box marked "Course Context." 2. Click the field marked "Course Start Date" and select your desired start date from the calendar interface that ...Managing Student Enrollment
How to Enroll Students in SAT Prep, ACT Prep, or BOTH This article focuses on managing a Student's Enrollment. The action of enrolling a student is NOT the same as activating a student's account so that they can access the course. Every new account ...Book an Instructor Onboarding Session
Book an Instructor Onboarding Session FAQ re: Instructor Onboarding How do I schedule an Instructor Onboarding Session? Use the embedded calendar widget above. Is there a charge to schedule an Instructor Onboarding Session? No. This service is ...
Popular Articles
The myPREPcourse Workbooks
⚠️ IMPORTANT NOTICE ⚠️ CREATING OR DISTRIBUTING UNAUTHORIZED COPIES IS ILLEGAL. How to Order PRINTED Workbooks Place an order using the myPREPcourse shopping cart - (Owners & Managers ONLY; Registration required) Register for access to the shopping ...ACT Practice Test Resources
About This Resource Here, you will find Answer Keys, Scoring Guides, and Answer Explanations. You will not find links to official practice test pdfs, which must be sourced elsewhere. IMPORTANT INFORMATION (Please Read) The myPREPcourse software does ...How to Score and Analyze an Official Bluebook Digital SAT Practice Test
Granting / Revoking Management Permissions
How to Grant/Revoke an Instructor's Management PermissionsArchiving / Unarchiving a Student Account
How to Archive a Student's Account 1. Select "Students" from the menu on the left side of the screen. 2. Use the search field to find the student account you want to archive. 3. Click the "Action Button" on the far right side of the screen. Then ...
