Managing a Group Class
Managing Group Classes
Creating a New Class
1. Log into your instructor account.
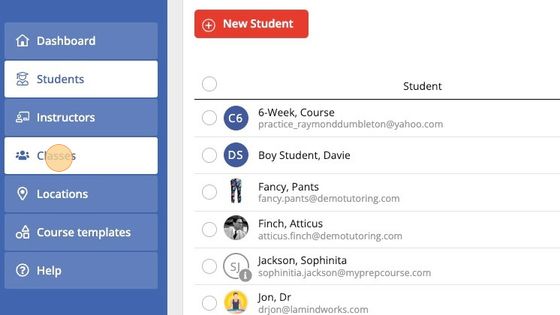
2. Select "Classes" from the menu on the left.
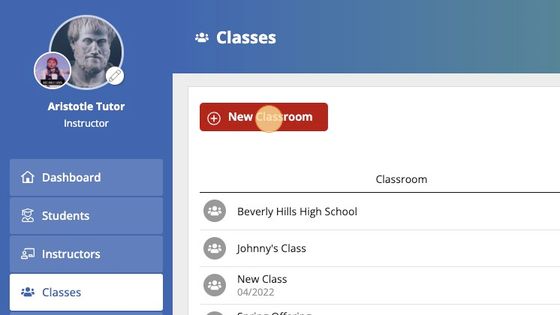
3. Click "New Classroom"

Entering the Class Settings
4. Enter the name of your new class.
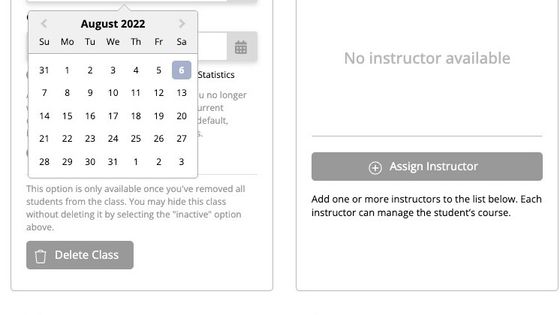
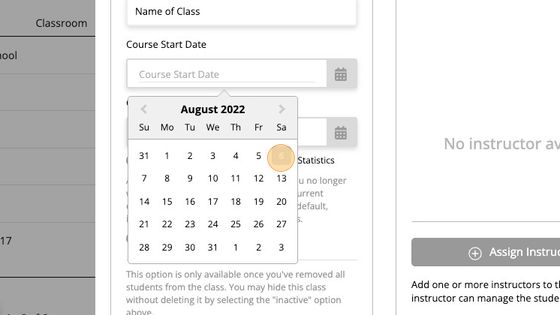
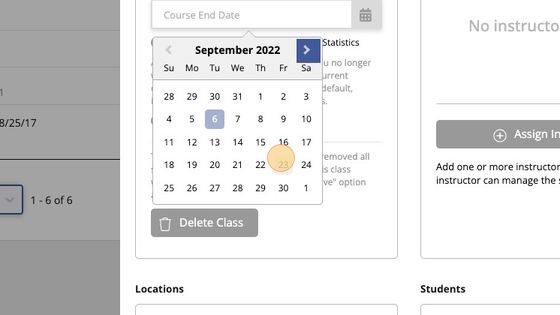
5. Choose a Course Start Date. (Optional)
6. Choose a Course End Date. (Optional)
Assigning Instructors to a Class
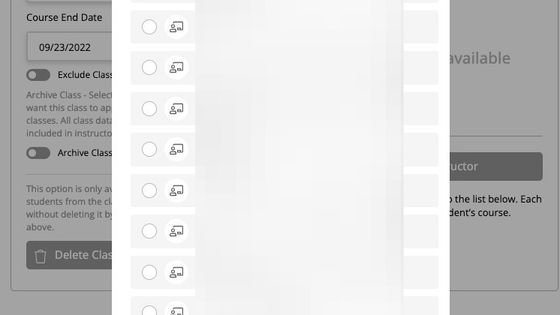
7. Go to the Class Settings Screen, click "Assign Instructor."
8. Use the search bar to locate the name of the instructor who will teach the class.
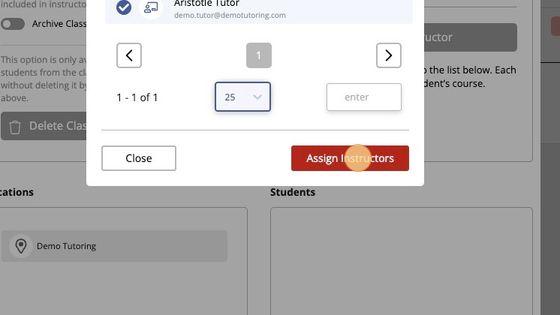
9. Select the instructor and click "Assign Instructors."
Adding Students to a Class
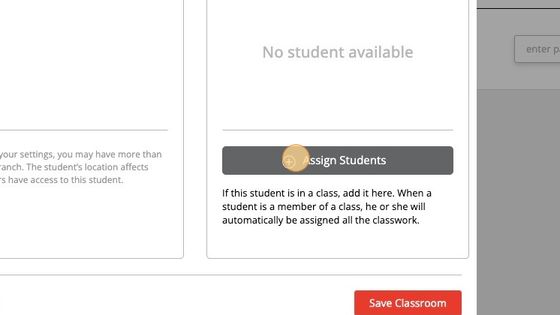
10. Click "Assign Students" to bring up a list of students you have permission to add to this class.
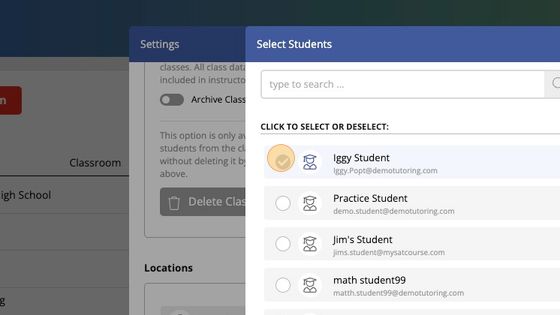
11. Select the students you wish to add to the class. Use the search bar if you don't see the names of the students you're looking for.

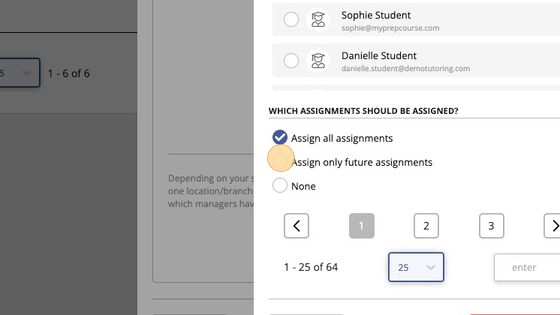
12. Choose whether the students you are adding will (1) receive ALL assignments since the beginning of the course — including assignments that were due before today. (2) Receive ONLY future assignments — not including assignments that were due before today. (3) Receive NONE of the assignments that have been assigned to this class.
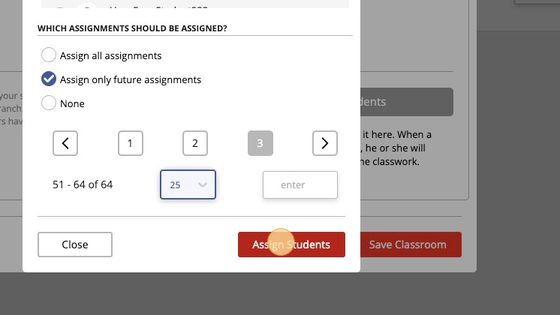
13. Click "Assign Students" to add the students you've selected to be in the class.
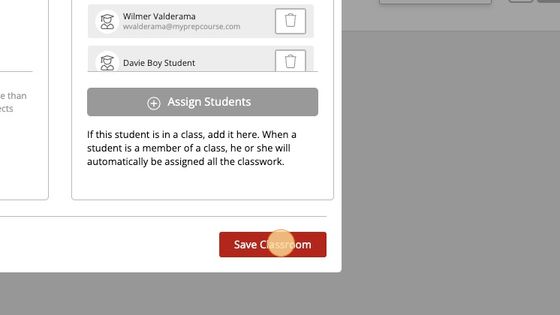
14. Click "Save Classroom" to save the changes.
Assigning a Test to a Class
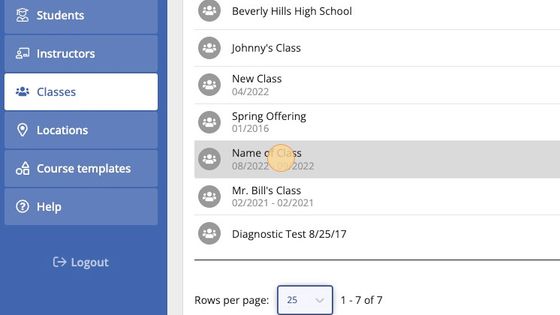
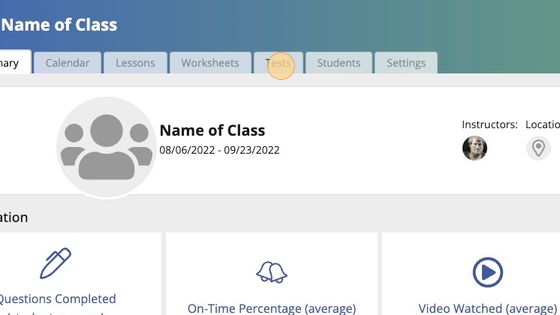
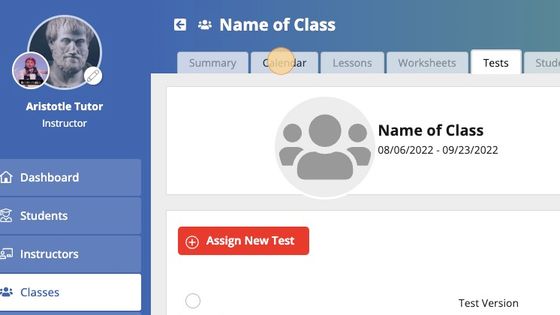
15. Click the name of the class on the class list screen.
16. Click the Tests Tab.
17. Click "Assign New Test"
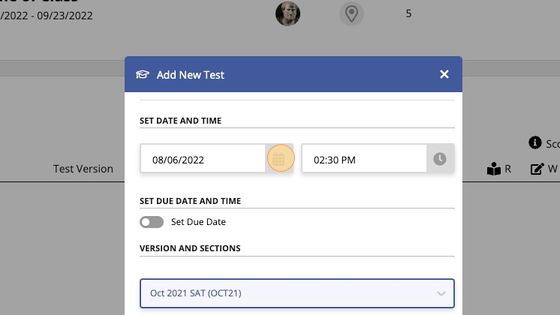
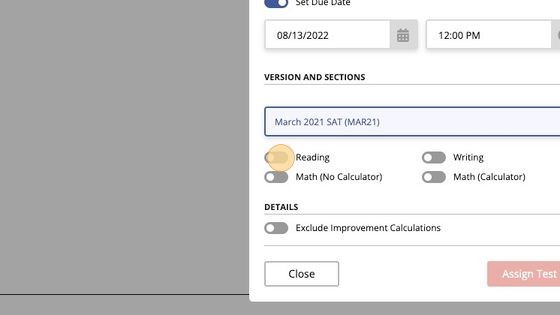
18. Choose when the test will become available (Date and Time).
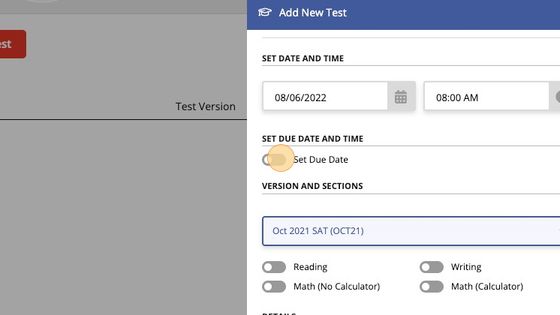
19. Add a Due Date (if desired).
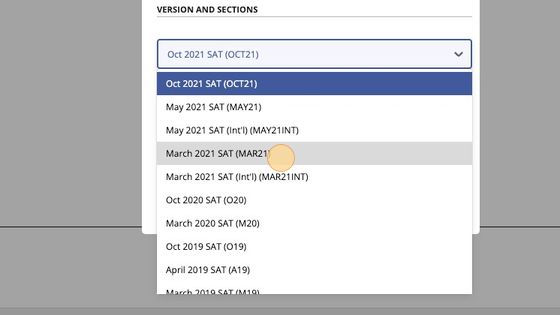
20. Click to select a Test Version from the dropdown menu.
21. Click the slider next to the test sections that you want to include on the assigned test. Note: you can add test sections to the assignment later — even after students have completed individual sections.
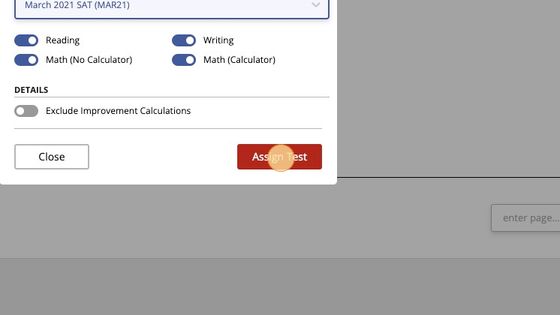
22. To finish assigning the test, click the button marked "Assign Test."
Applying a Course Template to a Class
23. Click on the class's Calendar Tab.
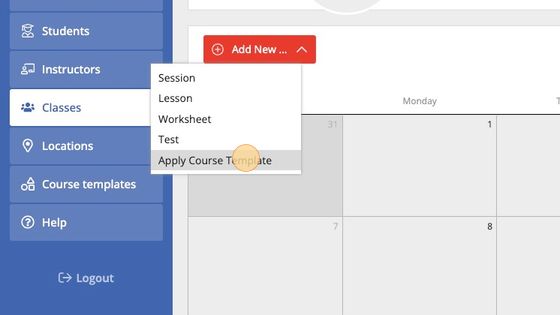
24. Click the button marked "Add New..." and select "Apply Course Template" from the dropdown menu.
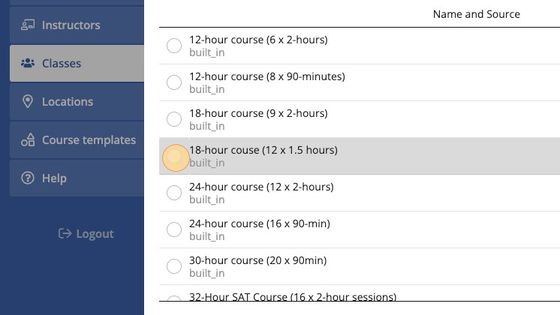
25. Choose the template you want to assign to the class.
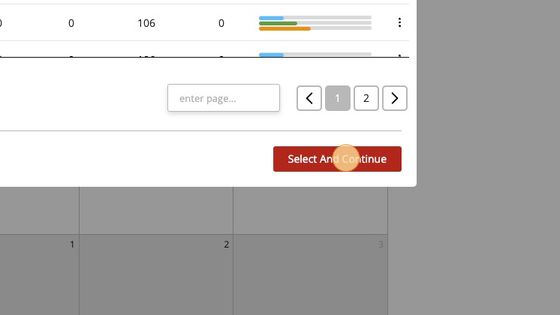
26. Click "Select And Continue"
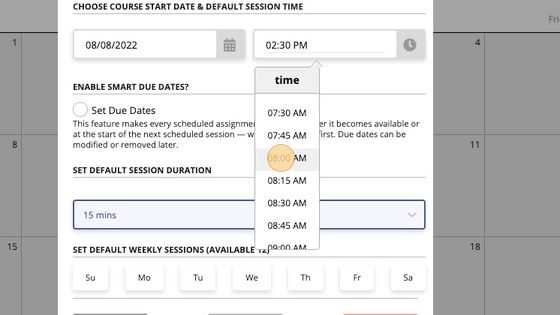
27. Choose the date and time of the first scheduled session.
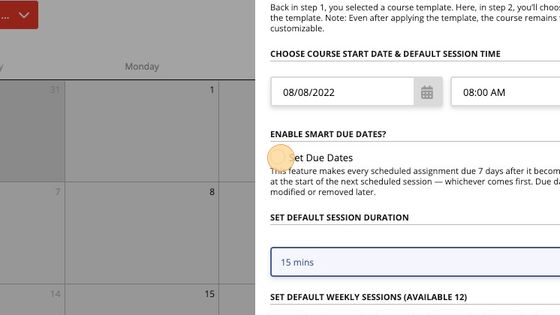
28. Check the box marked "Set Due Dates" if you want to set up automatic due dates for every lesson, worksheet, and test that your course template will apply to the class calendar.
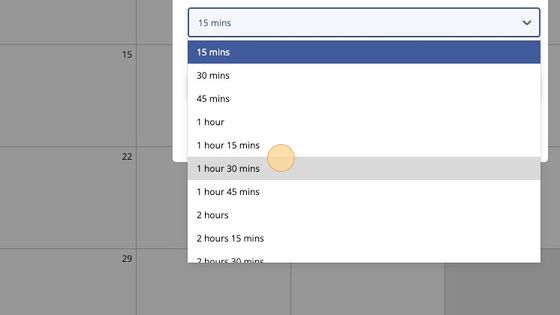
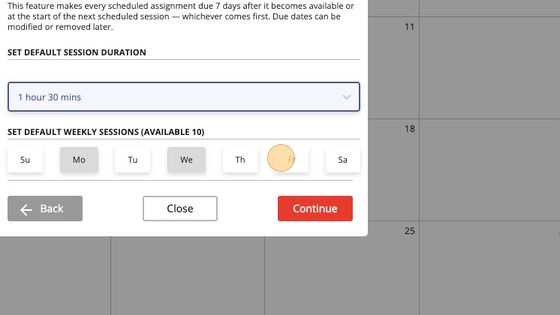
29. Adjust the default session duration.
30. Choose the days of the week for your default class schedule.
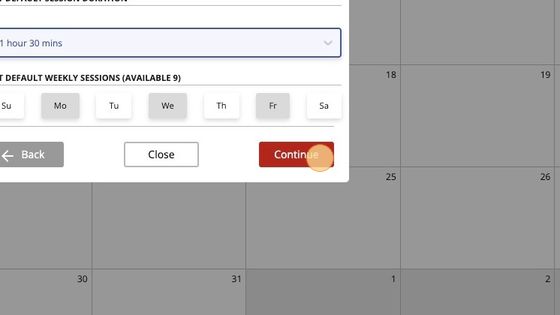
31. Click "Continue."
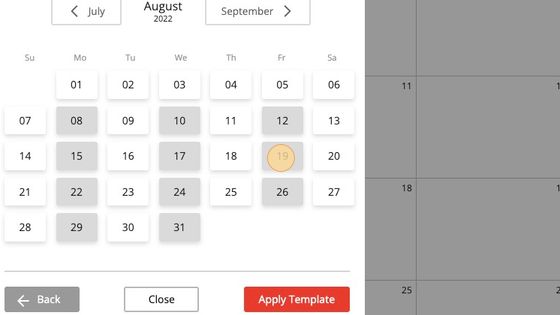
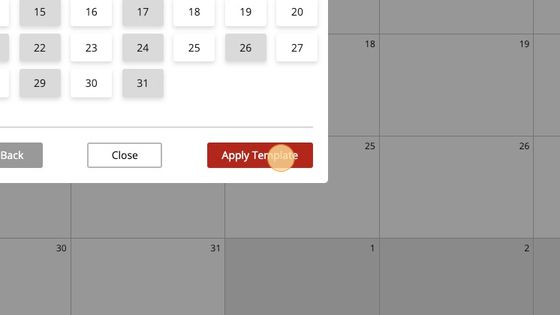
32. To make adjustments to the default course schedule, click on the dark grey days to remove scheduled sessions. Then click on the white days to add sessions to those days.
33. When you're done, click "Apply Template"
Changing the Name of a Class
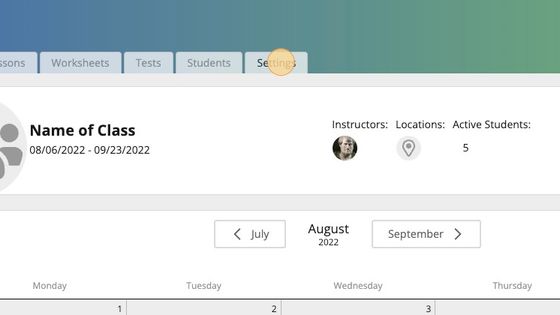
34. Click "Settings"
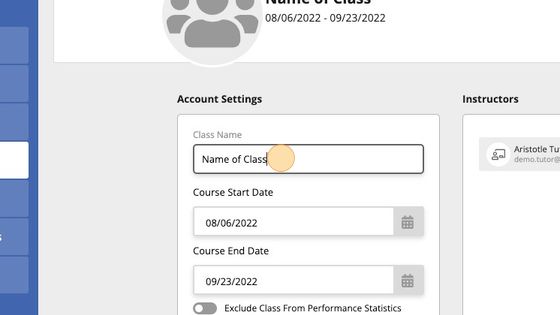
35. Click the "Class Name" field and enter the new name.
36. When you're finished, scroll all the way down and click "Save Changes."
Removing Students from a Class
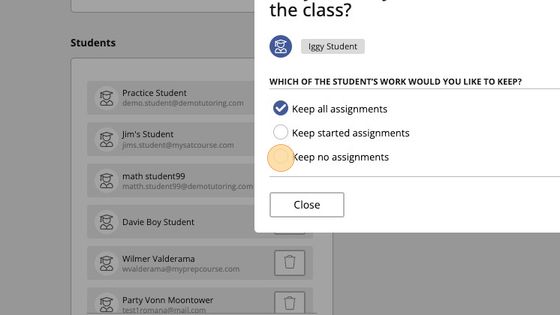
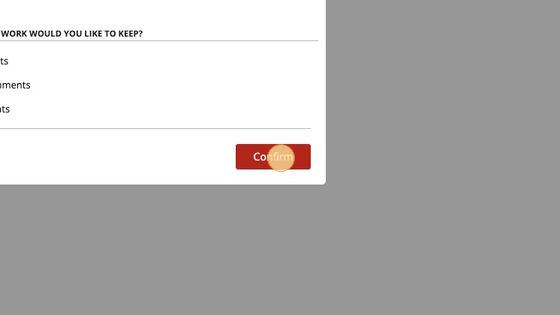
37. Click the trashcan icon beside the student's name. Then choose which of the student's assignments should be kept/unassigned.
38. Click "Confirm"
39. Scroll down and click "Save Changes"
Downloading a Class Report (Class Test History)
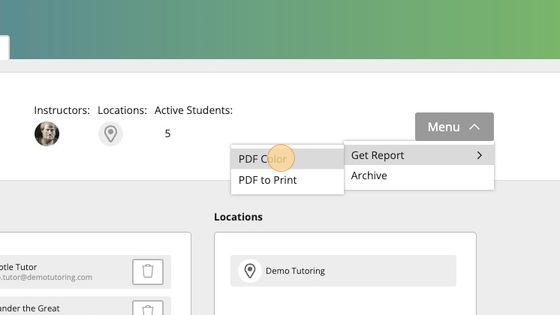
40. Near the top of the Class Settings Tab, click the Menu button to reveal a dropdown menu. Then choose "Get Report" and select which version of the report you'd like to download (1) the PDF Color version — colorful but wastes a lot of ink to print or (2) the PDF to Print version — less colorful and saves printer ink.
Adding Students to a Previously Assigned Lesson

This is especially useful if you've added students to a class after the course has already started and you want to make some of the work that predated their enrollment available to the newly added students.
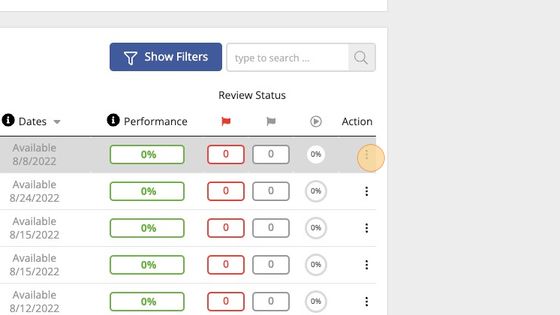
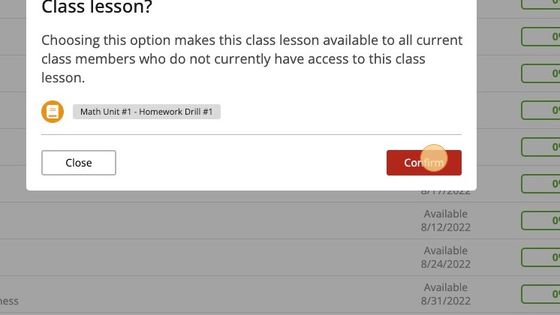
41. Click the Action Icon at the end of the row for the lesson you want to make available to all students in the class.
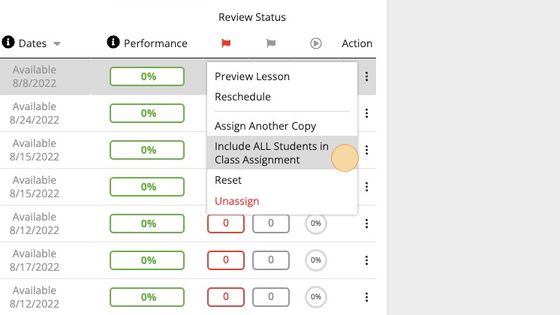
42. Click "Include ALL Students in Class Assignment"
43. Click "Confirm"
Related Articles
Creating a New Student Account
How to Create a New Student Account Every new student account begins as an inactive account, which may only be assigned one practice test. The student account must be activated before you are able to assign workbook lessons, worksheets, or ...Applying a Course Template
Applying a Course Template The instructions below guide you through the process of applying a course template to a student or group class. The only difference in the process is whether you click on a student's calendar or a classes calendar to begin. ...Managing Student Enrollment
How to Enroll Students in SAT Prep, ACT Prep, or BOTH This article focuses on managing a Student's Enrollment. The action of enrolling a student is NOT the same as activating a student's account so that they can access the course. Every new account ...Progress Report Emails
What Is a Parent Email Progress Report? Email progress reports can be set up to deliver an up-to-the-moment snapshot of the student's performance in their test prep course. They can be triggered automatically (once per week on a day of your choosing) ...Assigning a Practice Test
Follow these steps to assign a practice test to a one-on-one student. For information on how to assign a practice test to a group class, see the articles on Group Classes. IMPORTANT INFORMATION (Please Read) The myPREPcourse software does not allow ...
Popular Articles
The myPREPcourse Workbooks
⚠️ IMPORTANT NOTICE ⚠️ CREATING OR DISTRIBUTING UNAUTHORIZED COPIES IS ILLEGAL. How to Order PRINTED Workbooks Place an order using the myPREPcourse shopping cart - (Owners & Managers ONLY; Registration required) Register for access to the shopping ...ACT Practice Test Resources
About This Resource Here, you will find Answer Keys, Scoring Guides, and Answer Explanations. You will not find links to official practice test pdfs, which must be sourced elsewhere. IMPORTANT INFORMATION (Please Read) The myPREPcourse software does ...How to Score and Analyze an Official Bluebook Digital SAT Practice Test
Granting / Revoking Management Permissions
How to Grant/Revoke an Instructor's Management PermissionsArchiving / Unarchiving a Student Account
How to Archive a Student's Account 1. Select "Students" from the menu on the left side of the screen. 2. Use the search field to find the student account you want to archive. 3. Click the "Action Button" on the far right side of the screen. Then ...
